With VitalPBX we offer an application for iOS and Android called VitalPBX Connect. This is an application that will allow you to have your extension on your mobile device. This way, you will never miss a call again.
First here are some requirements for this application.
- Your VitalPBX server must have an FQDN (Fully Qualified Domain Name) pointing to it.
Or have a Public IP Address so the application can register even when you are
outside your network. - The VitalPBX server must have access to the internet so the devices register using the
registration server, and push notifications work properly. - To use VitalPBX Connect, you will need to have the appropriate licensing. With our
Licensing Plans, you get 2 included VitalPBX Connect devices. You will need to
purchase additional licensing for more devices. - Licensing for VitalPBX Connect is offered in bundles of 10 devices for USD
12.00 MSRP. You can increment in intervals of 10 devices and the pricing
adjusts accordingly.
With these requirements met, we can start by downloading the application. As mentioned earlier, VitalPBX Connect can be downloaded directly through the App Store for iOS or Google Play for Android. You can search for VitalPBX Connect by VitalPBX LLC.
You will notice that you need to scan a QR code to register the device. You will need to make some configurations in your VitalPBX installation to register your VitalPBX Connect device.
First, go to Admin > Add-Ons > Add-Ons and install the Connect add-on. If you don’t see the add-on listed, click on the green Check Online button in the lower right-hand corner.
Once you have installed the add-on, refresh your browser. A new option will appear under
the PBX menu.
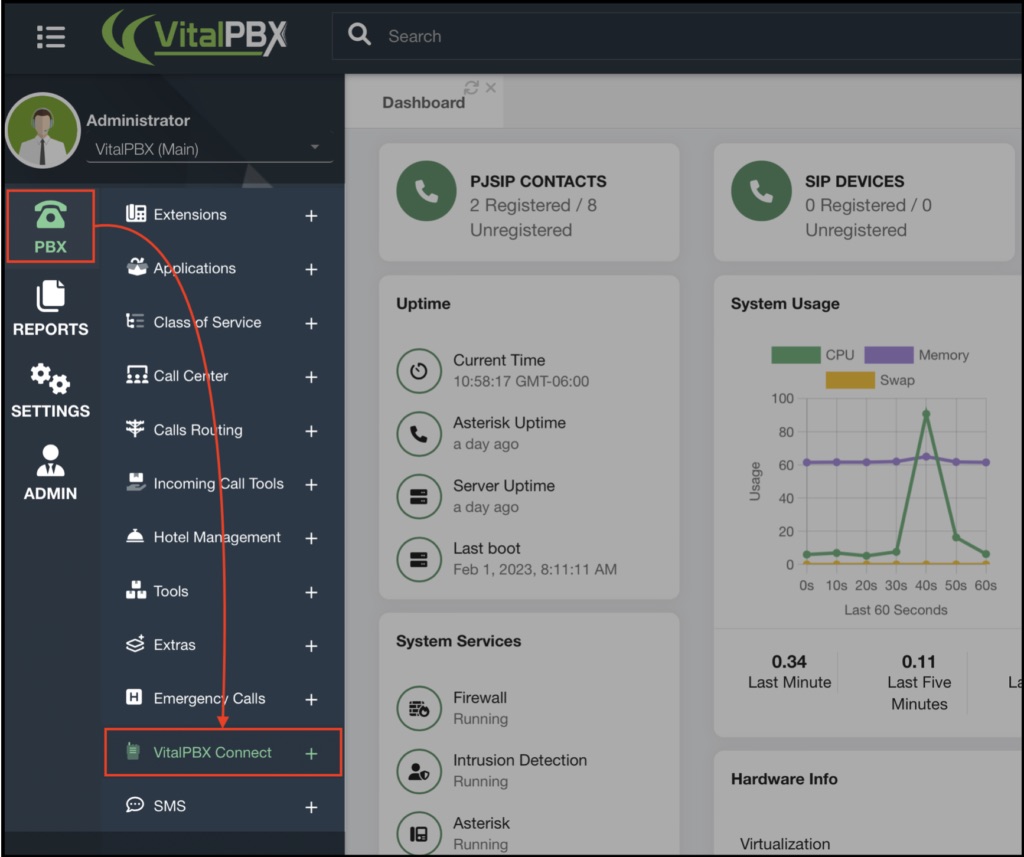
Now, let’s go to PBX > VitalPBX Connect > Settings. Here, we will configure our Provisioning Domain. This is the FQDN (Fully Qualified Domain Name) or Public IP Address of your VitalPBX installation. Click on Save and Apply Changes.
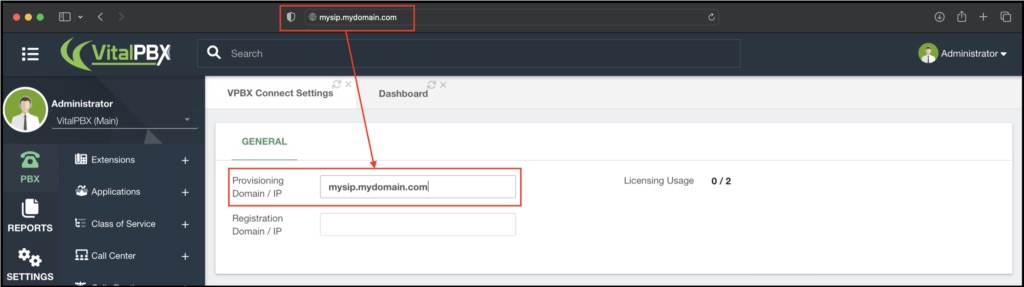
This will tell the VitalPBX Connect application where to get the provisioning information for the application. The data is provisioned directly by your VitalPBX installation to register your device.
You can use a different Registration Domain if you use a separate server for your registration. Usually, this server is the same one used for provisioning. So, you can leave it blank to use the same domain used before.
In this module, you can also see how many licenses you use for the VitalPBX Connect application and how many you have left.
Next, we can create the provisioning information for the devices in several ways. The first one is used mainly if you already have a device made for an extension, and you can easily create a new VitalPBX QR code.
For this option, go to PBX > VitalPBX Connect > Devices. Here you will see the list of devices tagged as Mobile Clients, and a provisioning QR code has been created for them.

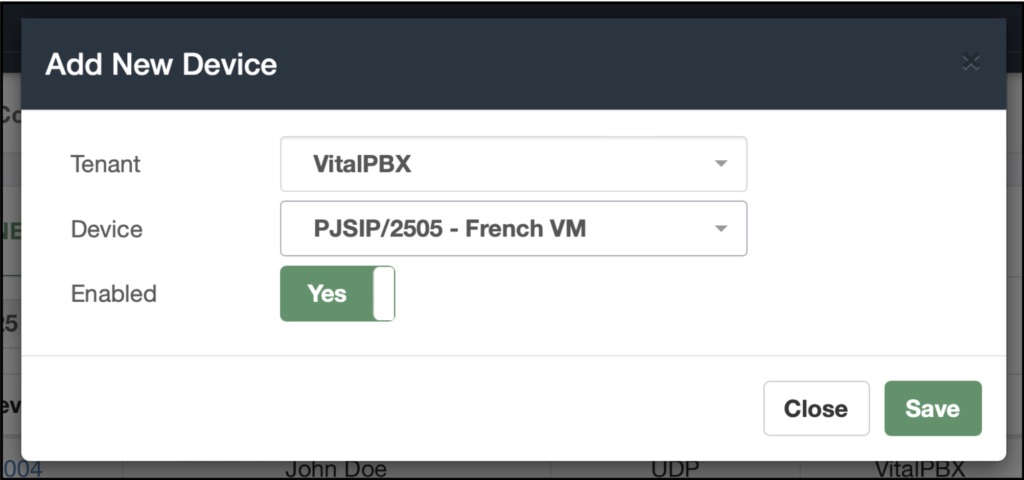
You can click on + Add New Device to add a new device. When adding a new device, you can choose a specific tenant. This will show you the list of available devices.
Keep in mind that the devices listed are those in that tenant. So if an extension has multiple devices, all will be listed. You can also Enable/Disable the device. Then click on Save and Apply Changes.
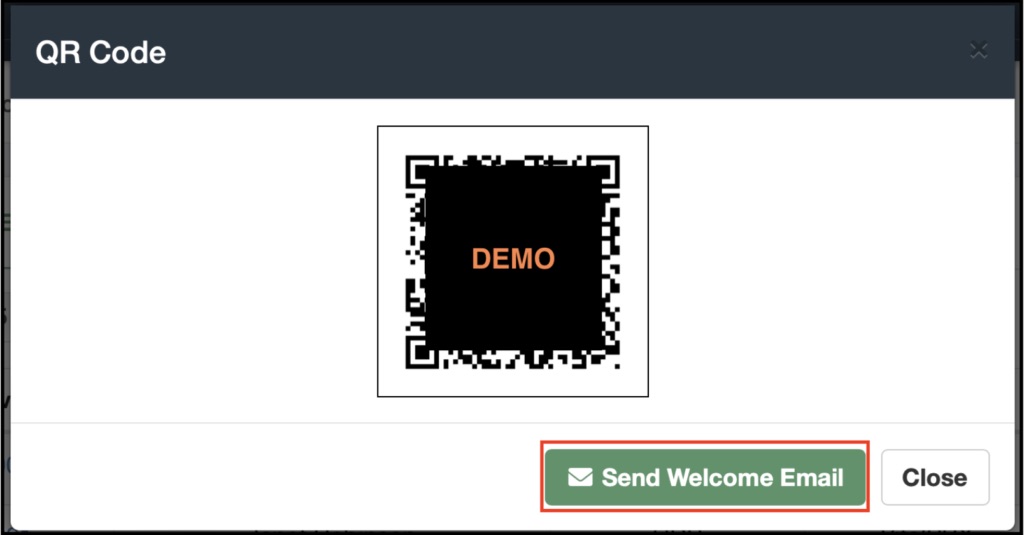
When you have multiple devices created, you will see various options in the Actions column.
These allow you to Edit a device, View the QR code, and Delete a device. When you click on
the blue QR code button, the QR code is displayed, and you will have the option to send it via
email for the user to scan using the Welcome Email template.
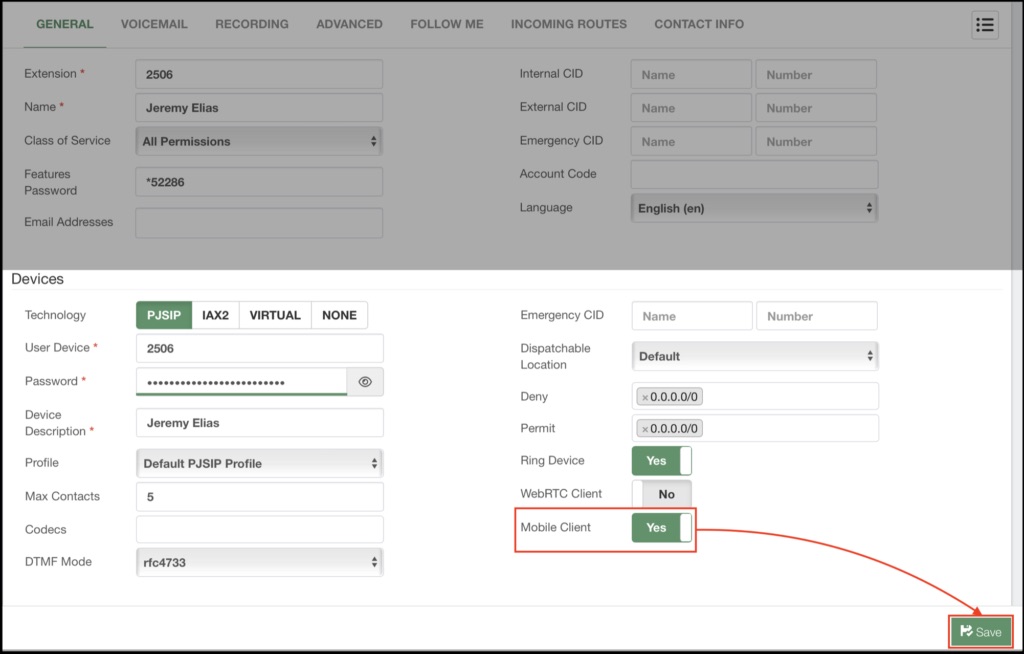
The other way you can create a VitalPBX Connect device is when making a new extension. This will be the most common way you will create the VitalPBX Connect provisioning devices.
When creating a new extension, enable the Mobile Client option under the device section. When you save and apply changes, this will automatically generate the VitalPBX Connect device.
For new extensions, if you have configured the email client, and entered an email address on the email field for the extension, the extension welcome email can have the QR code so the end users can easily scan the code.
You can review the QR code by going back to the extension and clicking on the mobile phone icon next to the Device. This will show you the QR code as we saw previously and you will have the option of sending the extension welcome email again.
With the add-on module configured and the QR code generated, we can now go back to the application on our mobile devices and register our extensions.
The process is the same between iOS and Android. This article will use an iPhone as an example, but you can use an Android device.
First, open the VitalPBX Connect application on your device.
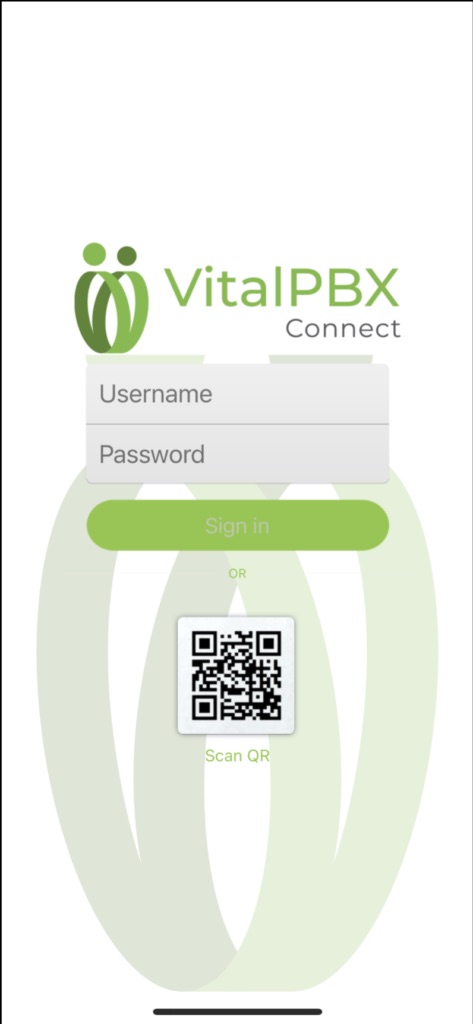
The first time you open the application, you will be greeted by the login screen. Here you will sign in with your provisioning information. For security purposes, VitalPBX generated a long random username and password. This is why using the QR code is much easier to provision your device.
Click on the Scan QR button. This will ask for camera permissions. Once you scan the QR code, the application will be provisioned, and your extension will register.
Once the device is provisioned, you will see the following screen.
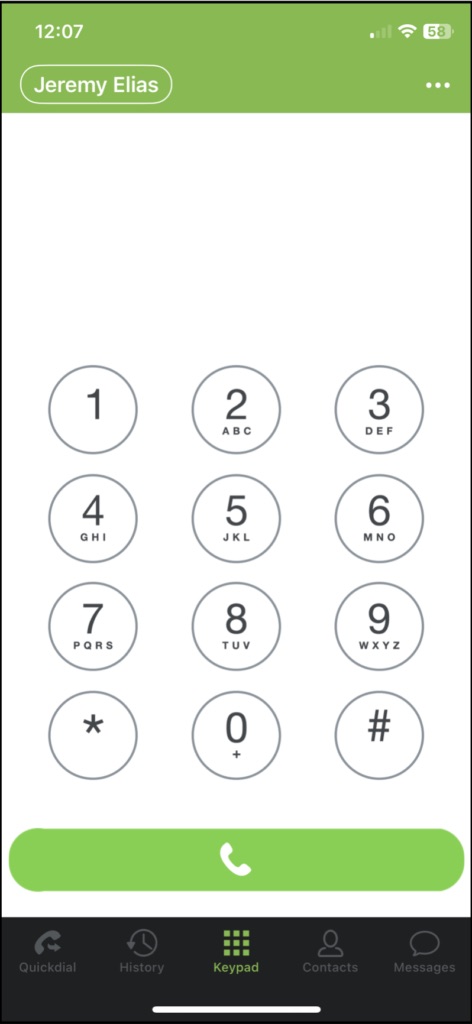
The main screen for the application is the Keypad screen. Here you can initiate calls and check
your voicemail.
On the top side, you will see your extension’s name and the settings menu, represented by
three dots.

If you tap on your extension’s name, you will see the Do Not Disturb option, which can be enabled or disabled. As well as information about your extension and voicemail.
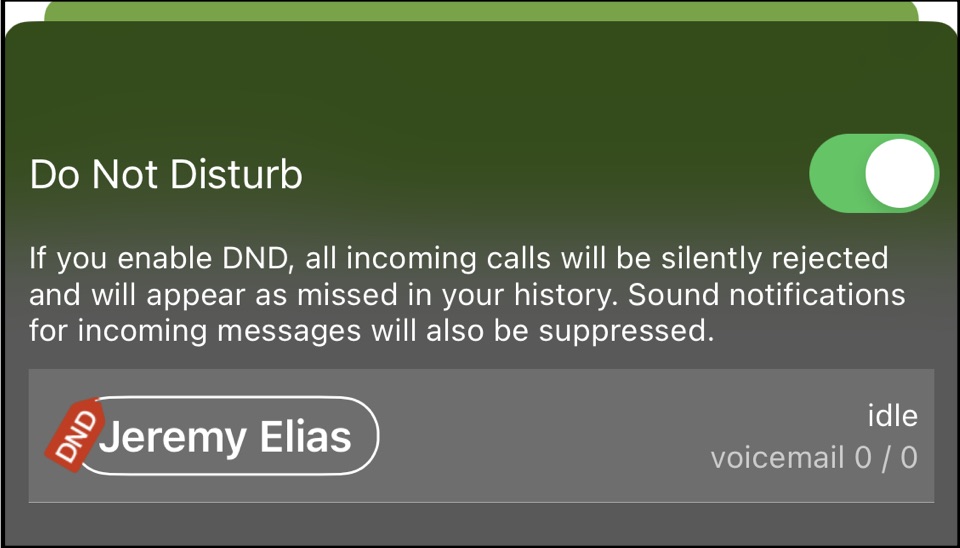
You can tap the Close button at the bottom to close this screen.
If you tap on the Settings option, represented by the three dots, you will see various settings for the application. Here, you will mostly access the VitalPBX Phonebook and Preferences options.
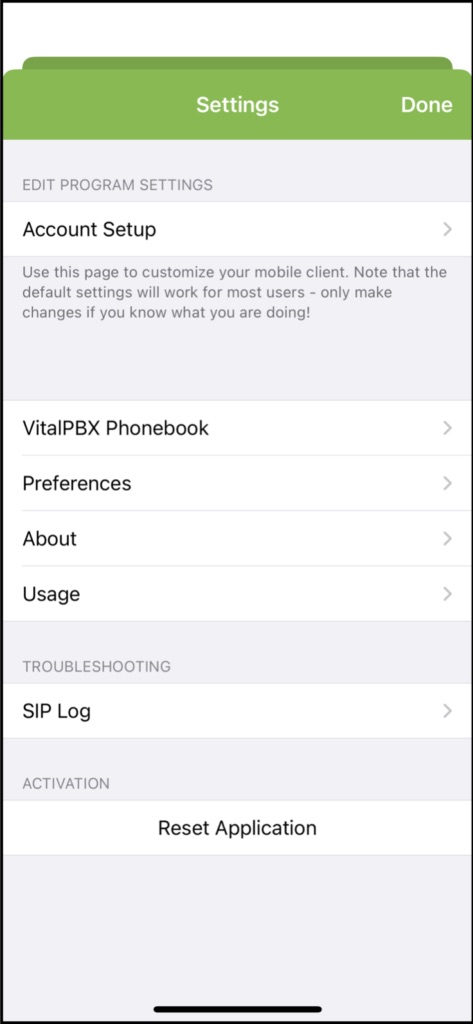
Under VitalPBX Phonebook, you can enter a phonebook URL generated by the Phonebooks add-on in your VitalPBX installation. This allows you to share a centralized phonebook with your end users, so they don’t have to enter a contact list manually.
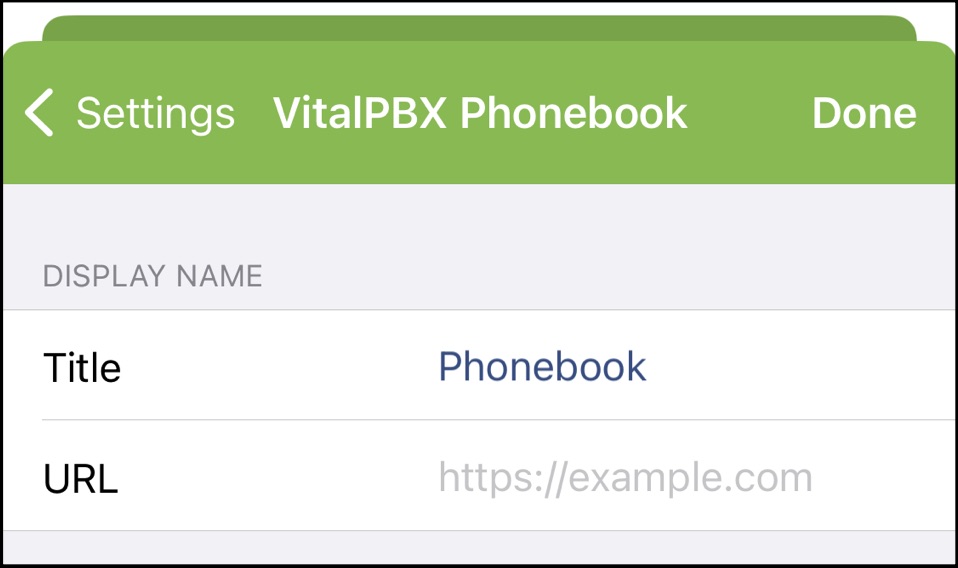
You can tap on Done after you have added the Phonebook URL.
Back in the Settings page, if you tap on Preferences, you will see various options you can
configure to change the application’s behavior.
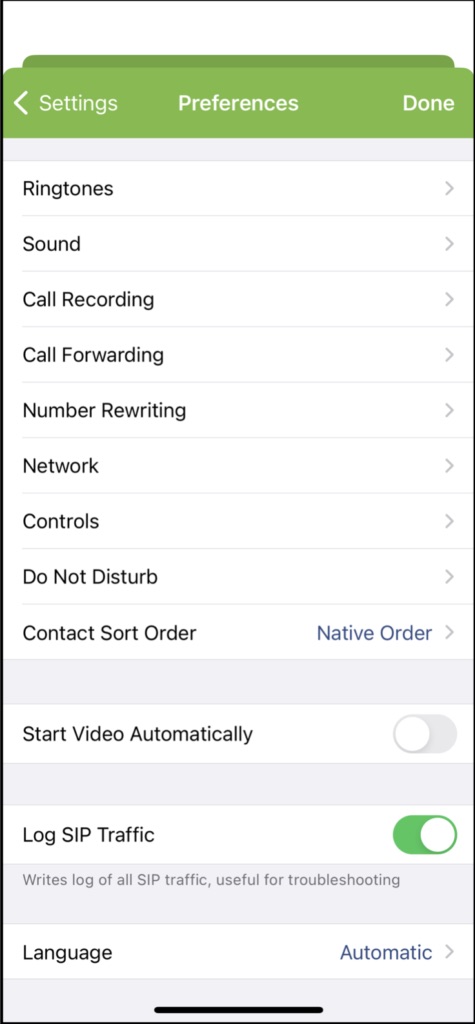
Here you can change Ringtones, Call Recording options, Call Forward, add Do Not Disturb rules, and much more. We encourage you to check out all available options to customize your VitalPBX Connect experience.
You can save any changes by tapping on Done.
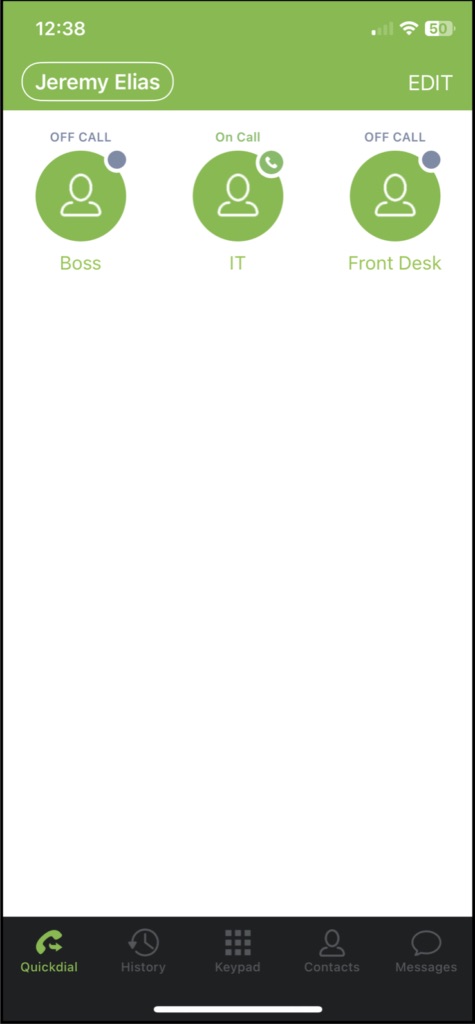
Back on the application’s main screen, you can see other pages you can access at the bottom.
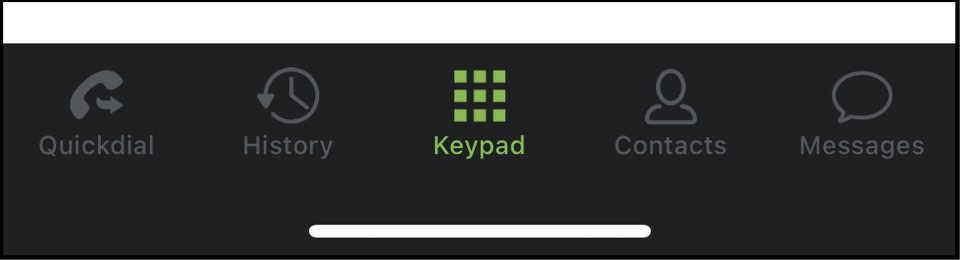
The first one from the right is the Quickdial page. Here, you can add contacts for quick access to call them. To add a quick-dial contact, tap on Edit and then the green + (plus) button.
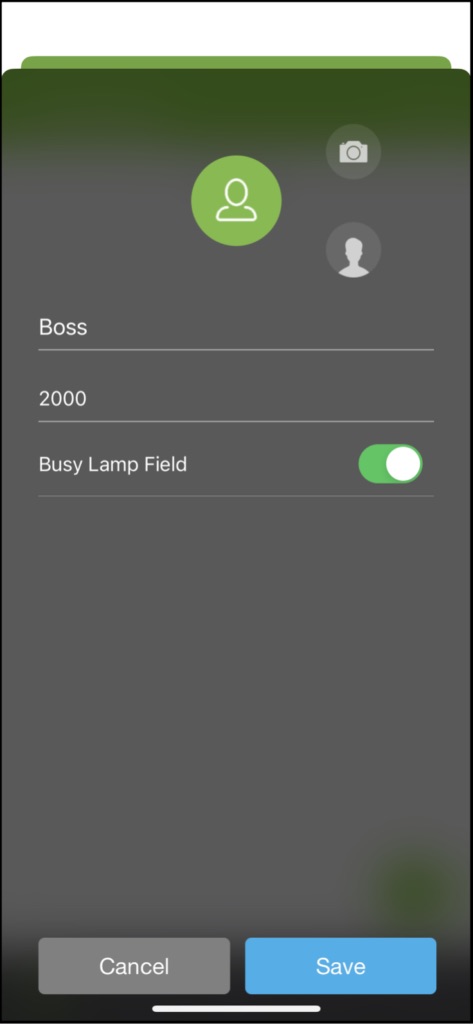
When adding a new quick-dial contact, you can enable the BLF (Busy Lamp Field) option to monitor their presence. This has to be a local extension number to use the BLF feature. You can also add a profile picture for this quick-dial contact.
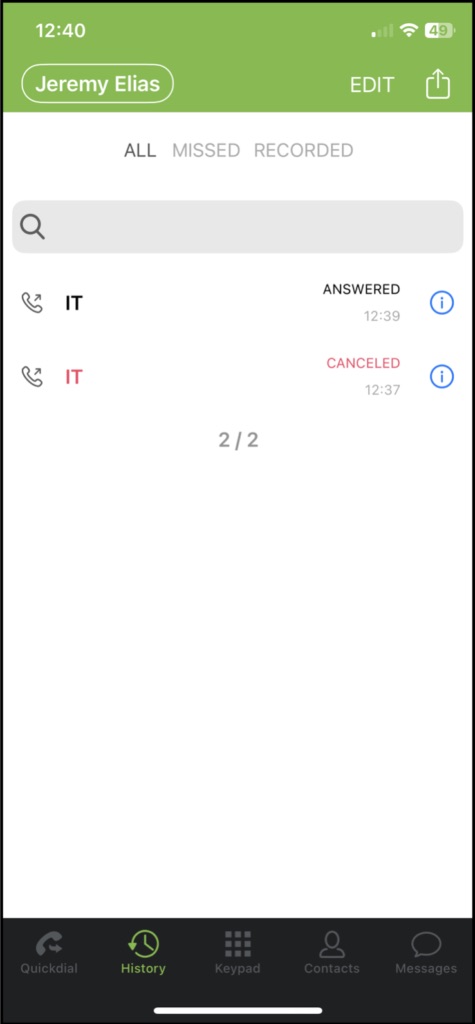
Next is the History page. Here you can see your complete call history.
You can edit the list, remove items, and export the list using the share button in the upper right-hand corner.
In the middle, we have our Keypad, as we saw before. Here you can initiate calls. If you tap the green call button without dialing any number, you will recall the last number you dialed.
During a call, you will see the following screen.

While on a call, you can mute/unmute, turn on speaker mode, and initiate your video. You can also show a keypad to perform DTMF actions, place the call on hold, record the call locally on your device, do attended or direct transfer, and add calls to create a 3-way conference. At the bottom, you can End the Call.
Next, we have the Contacts page. Here you will see the contacts stored in your mobile device
and another tab for the central phonebook we added through the application’s settings.
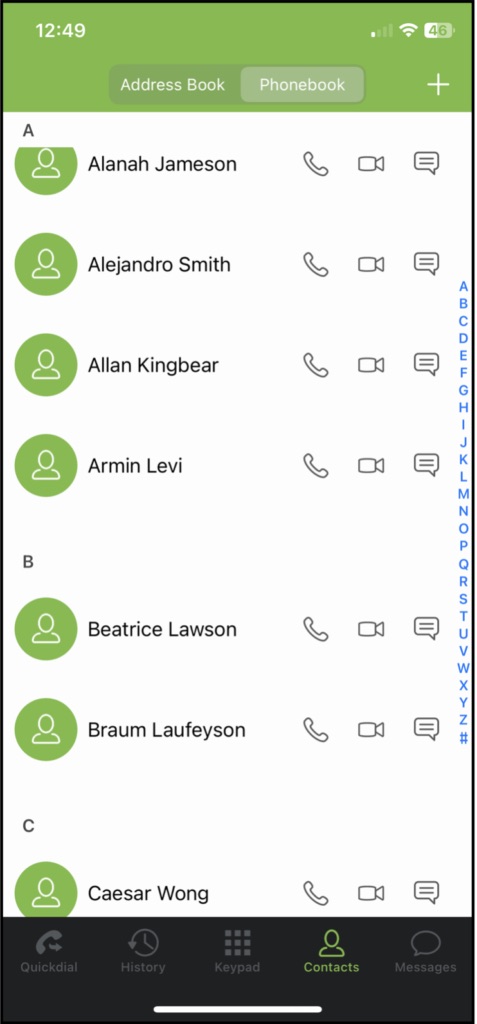

You can refresh the VitalPBX phonebook tab whenever you open this page or by sliding the contact list down.
This way, your phonebook is always up-to-date with the contacts added on VitalPBX’s Phonebook add-on.
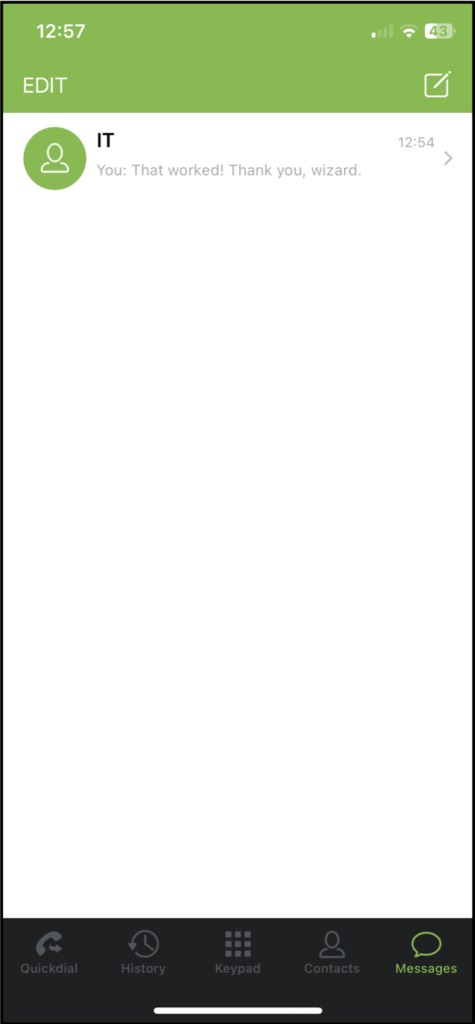
Finally, there is the Messages page. Here you can send and receive SIP-based messages with other users in the server that have devices that support SIP-based messaging, such as other VitalPBX Connect devices, VitXi, or select desktop phones. We will see later with the SMS add-on module, you can also send and receive SMS messages through this page, giving your end clients a complete experience of placing and receiving calls, as well as SMS messages. All from a single application. The messaging feature supports regular text and emojis.
You can edit and remove conversations or start a new one with the button in the upper right-hand corner.
With this, you have a complete mobile client that is feature-rich and allows you to have mobility with your extension.


