The installation process of VitalPBX in dedicated hardware is similar to how you do a virtual machine installation. So, we will show only some of the same steps again. Here, we’ll only cover the preparation steps of getting you ready to install VitalPBX in dedicated hardware. You can refer to the Virtual Machine installation process for the rest of the steps.
When we say dedicated hardware, we mean that we will install the software on a computer or server that will only work as our VitalPBX installation. It is important to note that the computer or server you are installing VitalPBX on needs a dedicated monitor and keyboard to proceed with the installation.
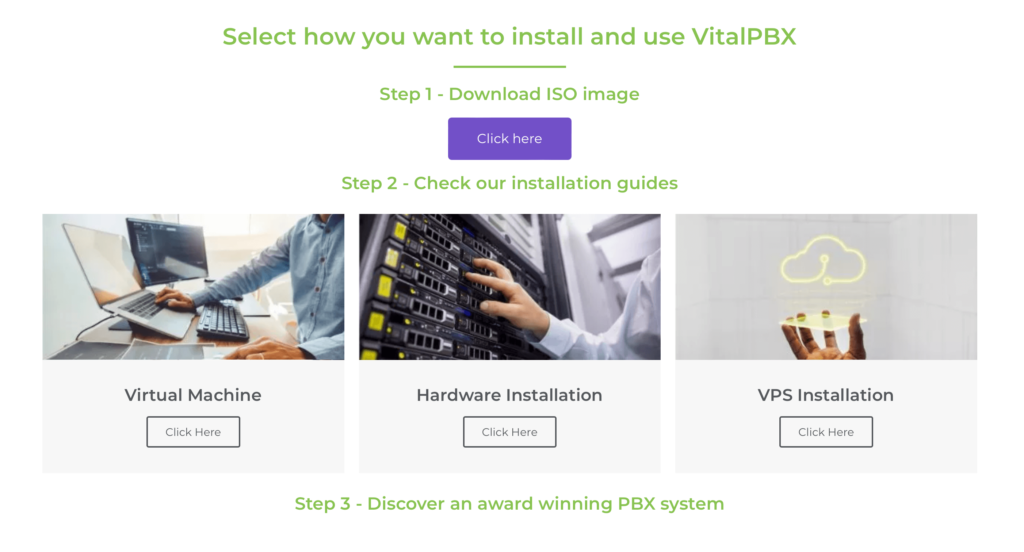
So, we first need to download the ISO image from VitalPBX’s official website at https://www.vitalpbx.com, just as we did in the previous lesson. This can be found under the Download section and by scrolling down. There, you will also find written guides on how to install VitalPBX in different environments.
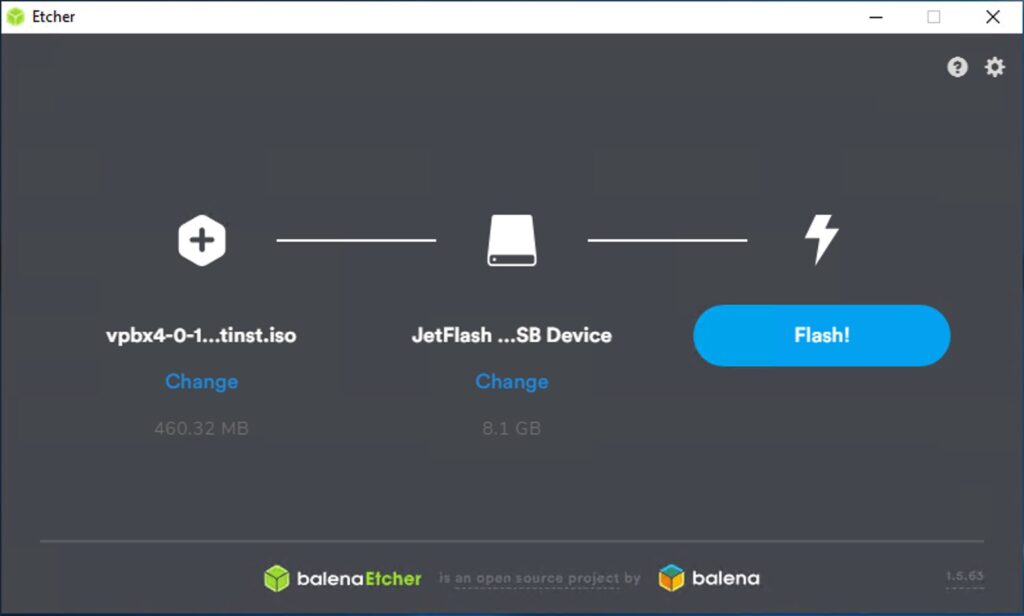
Next, we’ll need to flash the ISO image to a USB flash drive to install VitalPBX on dedicated hardware. To do this, we can download Balena Etcher at https://www.balena.io/etcher/. Balena Etcher is a free storage drive flashing tool that works in Windows or macOS.
Once you have installed Balena Etcher and run it, choose the ISO image you have downloaded. Then, select any USB flash drive you have available.
The USB flash drive has to be at least 2GB in storage size.
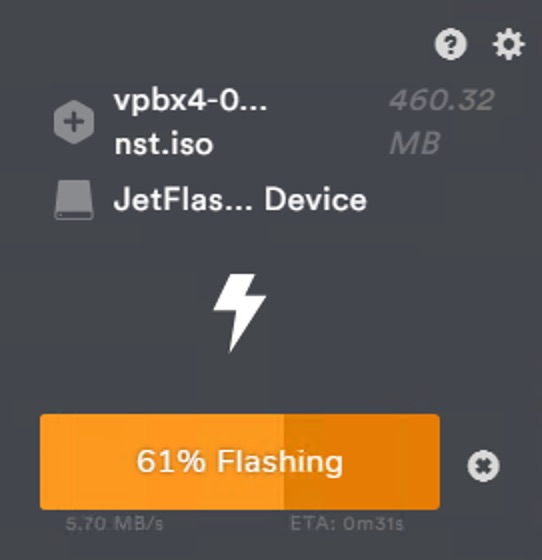
Finally, click on the blue “Flash!” Button. This will start the flashing process, which can take a few minutes.
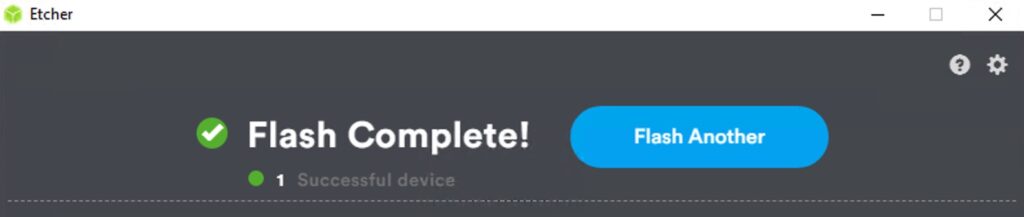
Once it’s done, you can eject the drive safely.
Once you have securely ejected the USB flash drive, you can insert it into a USB port in your dedicated hardware. Proceed to turn on the server and press the boot drive options key while the system starts.
The boot drive option key varies depending on the motherboard manufacturer. Usually, it is the Delete key, F2, F11, or F12.
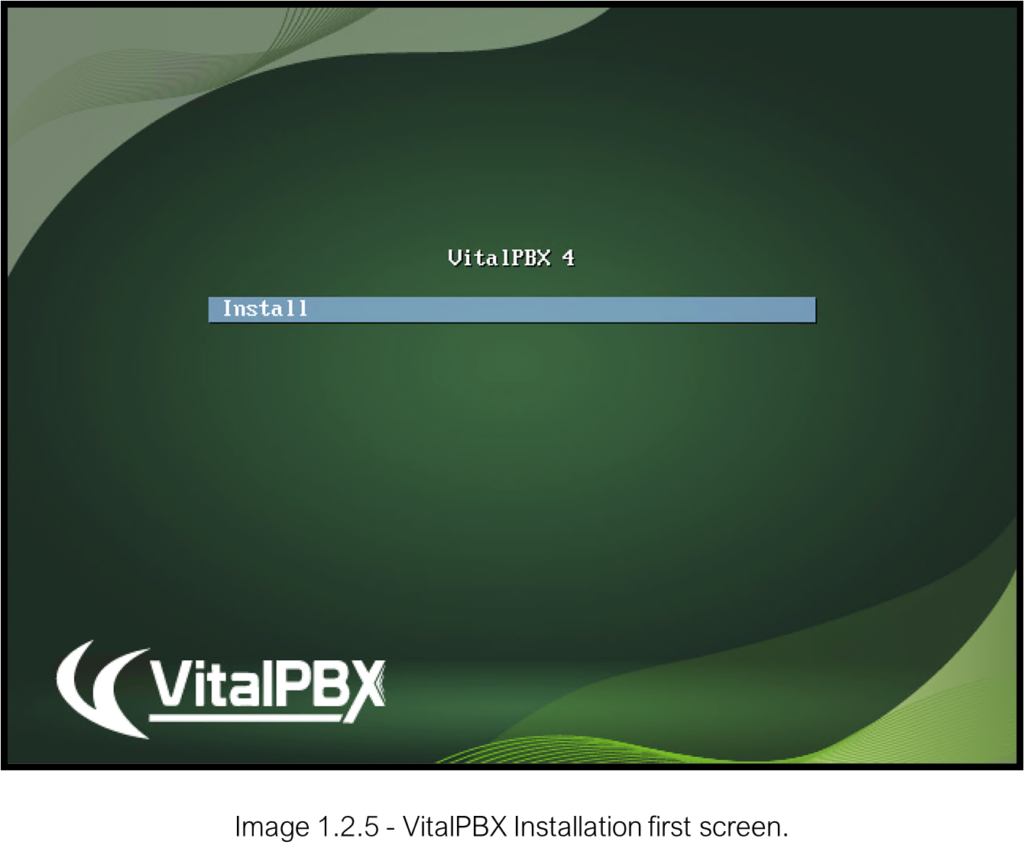
In the boot drive options, select the USB flash drive you flashed. Reboot your server or computer. The system will boot from the USB flash drive, and you can begin VitalPBX’s installation process. To proceed, press enter.
You can follow the same procedure in the Virtual Machine installation lesson, where we installed VitalPBX in a virtual machine.
Once you have followed these steps, you have successfully installed VitalPBX. Congratulations!


