With our email settings in place, we will now configure various notifications available for VitalPBX.
For this, we will go to Admin > System Settings > Monitoring. You will find the Notifications and Storage tabs here.
In the Notifications tab, you can define a From Address from which the emails will be sent. This can be a different “From” address than the email you configured in the email settings. Make sure you use the same domain as the one configured in your email settings and that your email server permits this.
You can also enter the emails to which Storage and Intrusion Notifications will be sent.
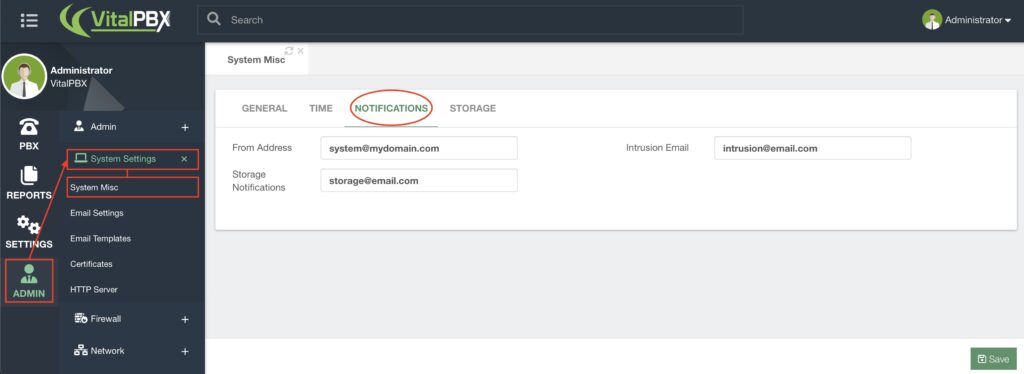
You can then click on Save.
Next, we can move to the Storage tab.
You can configure the threshold to send you the storage notification email and enable/disable this notification.
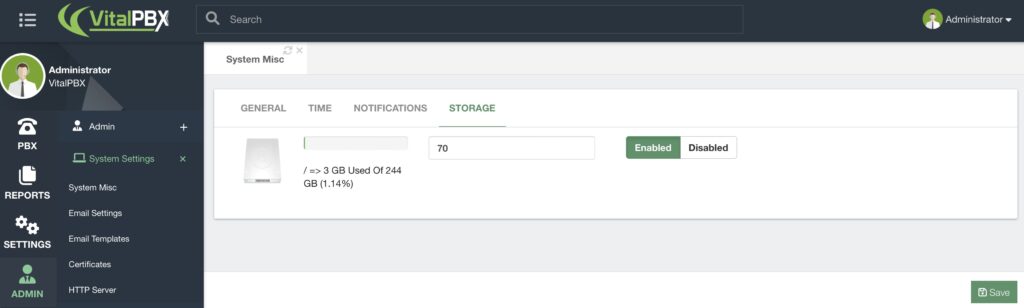
Once you set your setting, click on Save.


