Whenever you first install VitalPBX, you will see the Register the Installation prompt. Here,you can enter your information to open an account for your system installations.
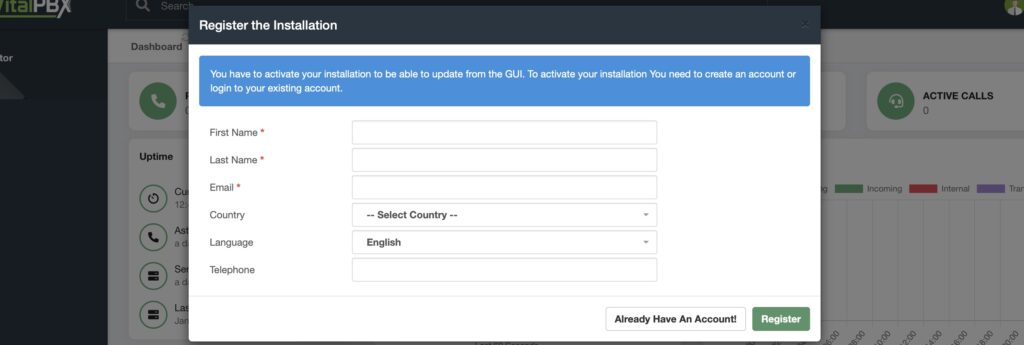
This is separate from a vitalpbx.com account. This is so we can record the number of VitalPBX installs worldwide for internal use and is not shared with any third party.
f you have installed VitalPBX previously, you can click the Already Have An Account button and enter your email address. Afterward, click on Register.

This step is necessary for you to update your VitalPBX installation.
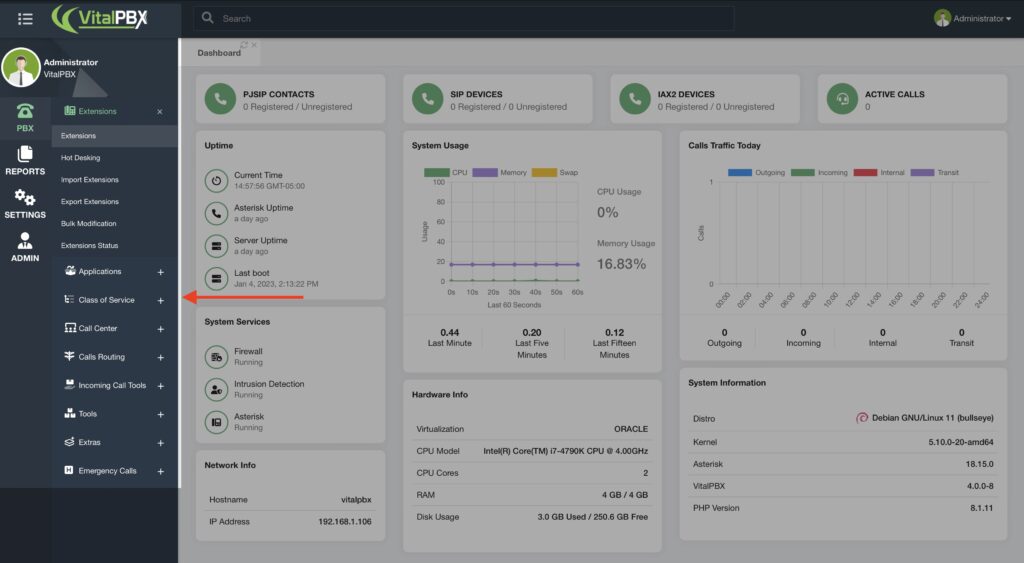
Before we continue, let’s get familiar with the web interface. We have worked on making VitalPBX as intuitive as possible, so learning these core aspects will have you navigating the system in no time.
To the left, you have the main navigation menu. Here, you will find the main categories, subcategories, and modules.
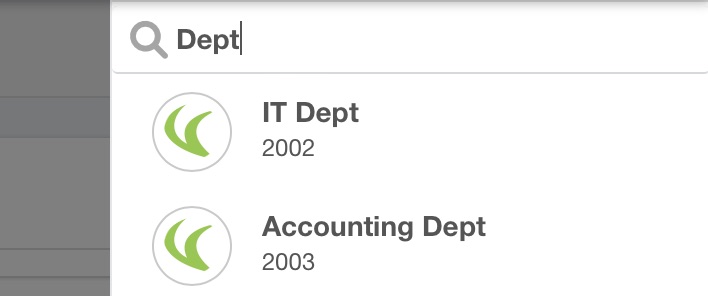
On top, you will find the general search bar. Here, you can search for any module or configuration from VitalPBX. For example, let’s search for Extensions and press enter.
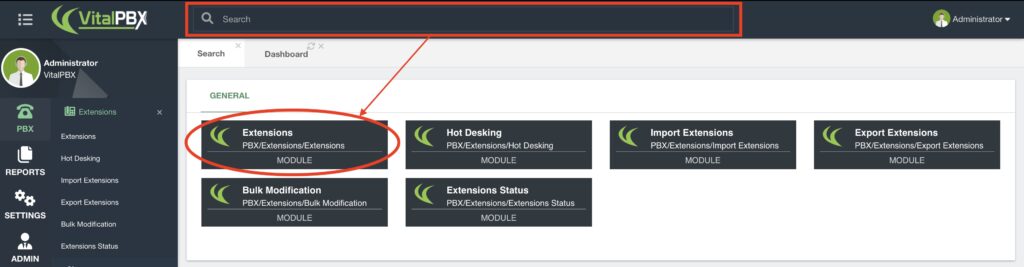
You will see every item related to extensions in the results. Let’s click on “Extensions.”
Whenever you are in a module where you can create multiple items, you will see this “list” icon n the top-right corner.
In this list, you can open and edit items you previously created. There is also a Search Bar to search the items based on their name, number, or description.
When configuring a new item, you will have a Save button in the bottom right-hand corner. If you edit an existing item, you will see an Update, Delete, and Cancel button. The Update button will update your configurations with the new ones, Delete will delete the item you are editing, and Cancel will not save any changes and will present you with a blank canvas.


This will be the same with many of our different modules. More options may appear depending on the module in the lower left-hand corner.
A red arrow icon will appear when you save or update most configurations. This will Apply Changes from the database to the system’s configuration files.
Remember, Saving your configurations and Applying changes are two separate actions.
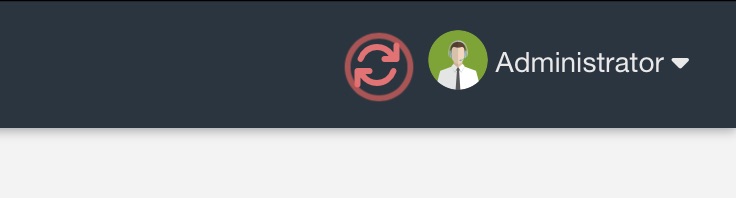
Right next to it, you will have the User Menu. This will display various other settings you can access. We will see these later on.

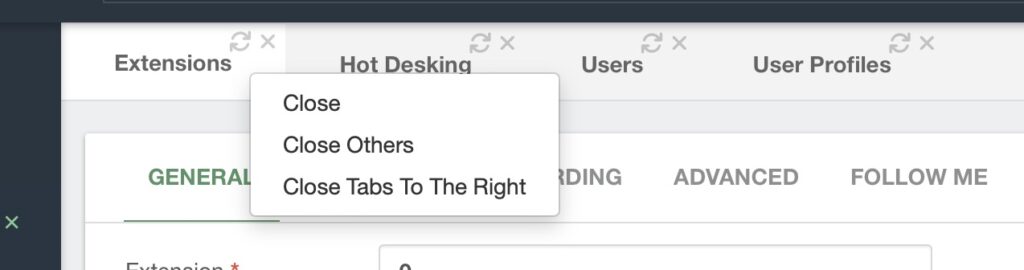
While moving through multiple modules, you will notice that tabs start to appear. This Multi-Tab system comes turned on by default with VitalPBX, allowing you to navigate opened modules easily. You can close Tabs individually or close many by right-clicking on one. It is also possible to refresh a single tab in case you recently made a change in a different module.
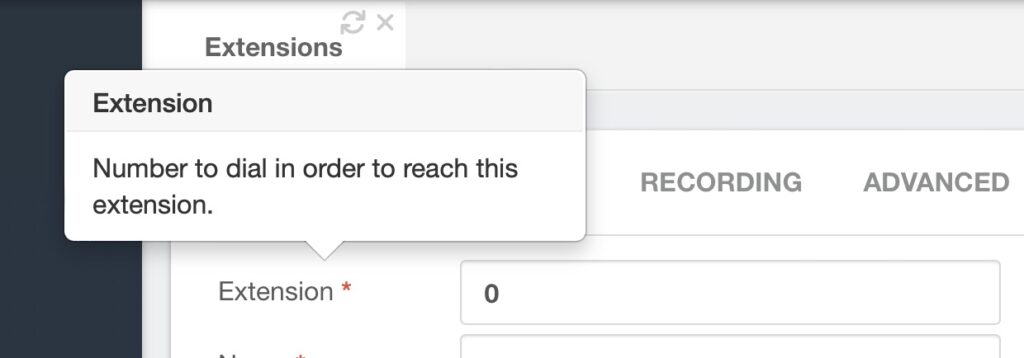
Finally, rest assured that you don’t need to remember what every field in VitalPBX configures. Whenever you hover your mouse over a field title, you get a Tool Tip. This allows you to see a brief description of the field; most of them contain sample data for your understanding.