Now let’s go through how you can send and receive Faxes from your VitalPBX, using the Virtual Faxes add-on module. Even though faxing may sound like a very old way of communication (and it is), it is still widely used in various fields like the law or medical fields.
The Virtual Faxes add-on is a commercial add-on that requires a license to work to its full potential. You can acquire a license separately just for the Virtual Faxes add-on, or it also comes included with any of our licensing plan subscriptions.
To start using the Virtual Faxes add-on, you must install it through the add-ons module under Admin > Add-Ons > Add-Ons. Once the add-on is installed, refresh your browser and go to Admin > Add-Ons > Add-Ons. Once the add-on is installed, refresh your browser and go to PBX > Virtual Faxes > Fax Devices.
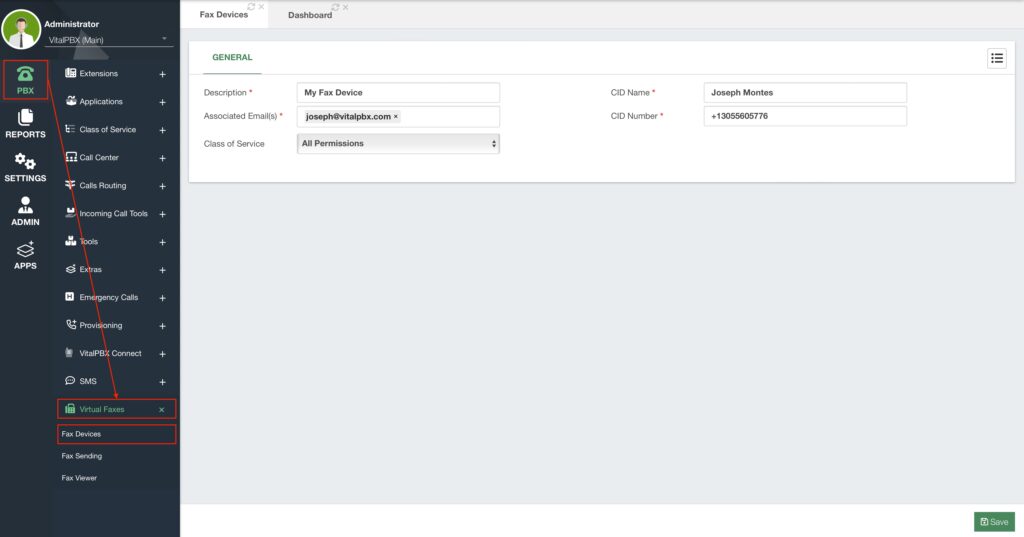
First, you must create a Fax Device. This is like having a fax machine inside of VitalPBX. This is a device we will use to send and receive faxes. You will need to add a Description to identify the device. Then, add the Associated Email(s), as these will be used when receiving a fax, so it is sent to the email addresses set here. You can enter as many email addresses as you need. You must have the Email Client set up to use the Fax to Email feature. You must set a Caller ID Name and Number, as this is the CID information that will be used when sending a Fax. Finally, set an appropriate Class of Service, so the device can send faxes to their destinations. With the fields configured, you can Save and then Apply Changes.
To Send a Fax from the VitalPBX Web Interface, you must go to PBX > Virtual Faxes > Fax Sending.
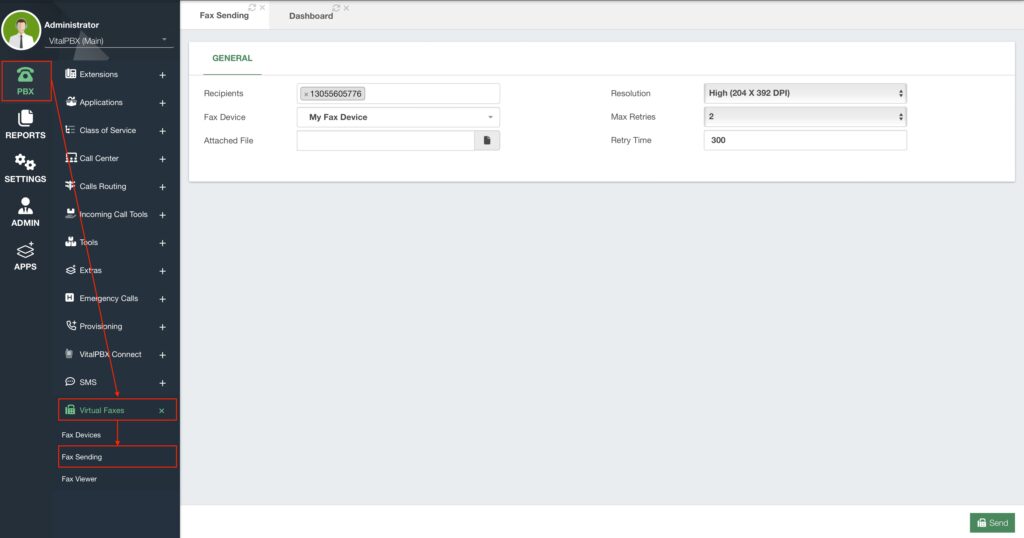
Here, you must enter the Recipients to whom you are sending the fax. You can enter multiple phone numbers in this field. Make sure that you enter the number exactly as you would dial it, including any prefixes if needed. Then, select the Fax Device you wish to use. Afterward, you will need to attach the file you wish to send. This must be a TIFF, TXT, or PDF file. You can select the Resolution in which you wish to send it. You can set the number of Max Retries to try and send the fax, as well as the Retry Time between each try. Once you have filled out the fields, click on Send in the bottom right-hand corner.
When you receive a fax, you will have it sent to the email addresses set on the Fax Device, but you can also view faxes from the VitalPBX Web Interface. Go to PBX > Virtual Faxes > Fax Viewer.
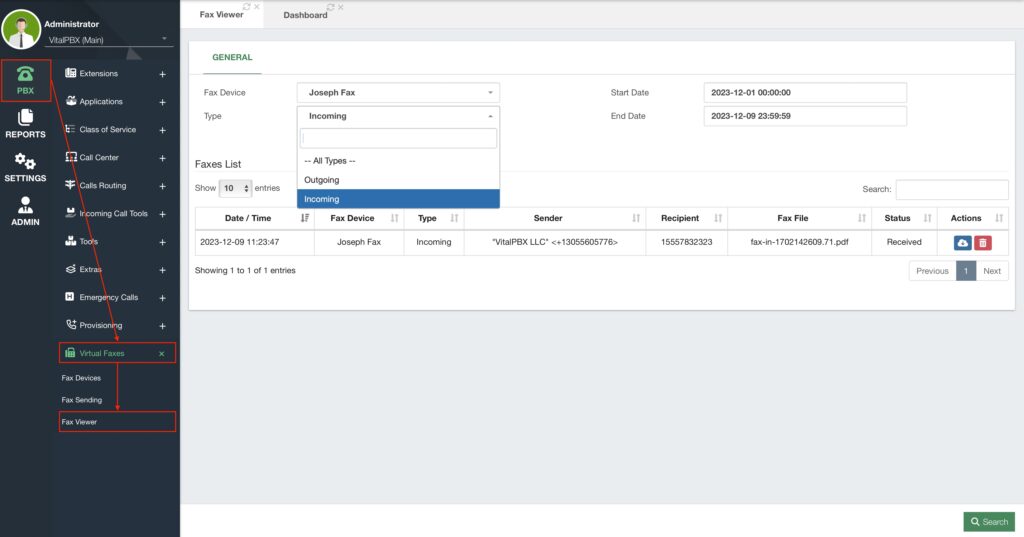
Here, you can see the faxes for a specific Fax Device, set the type to All Types, Incoming, or Outgoing, and set a Start and End Date to filter the faxes you wish to see. You can click the Search button in the lower right-hand corner to apply your filters.
Your faxes will be listed on the Faxes List, and you will see information on when they were sent or received, by whom, and the fax content information. Under the Actions column, you can download the Fax Content, and delete any faxes.
With this, you can now send and receive as many faxes as you need directly from your VitalPBX. Allowing you to digitize your faxing abilities.


