Remember that it is necessary to have a valid FQDN and that our VitalPBX server must have a valid certificate.
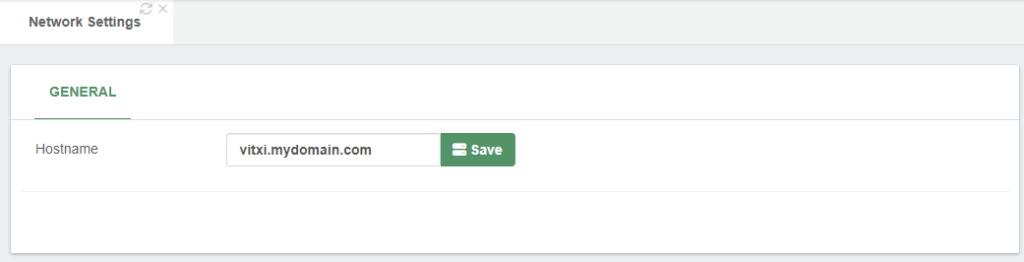
It is also very important that the host name of the server matches the FQDN that we are using to generate the Let’s Encrypt certificate, so first you must go to Admin/Network/Network Settings and configure the Hostname as shown below.
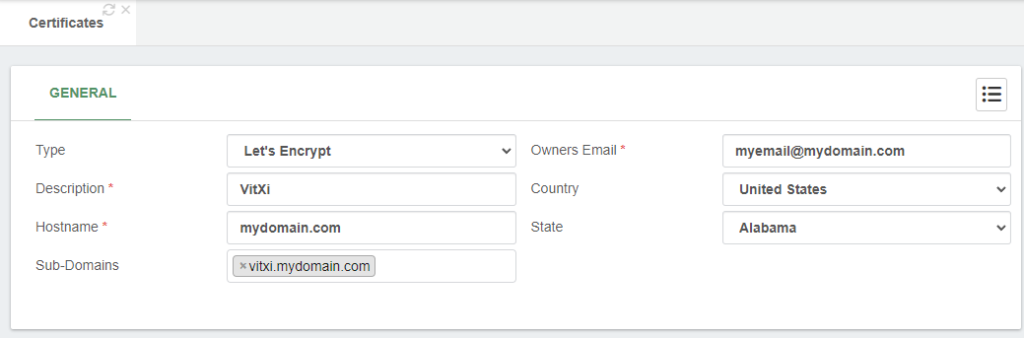
Now we are going to configure the certificate for which we are going to Admin/System Settings/Certificates.
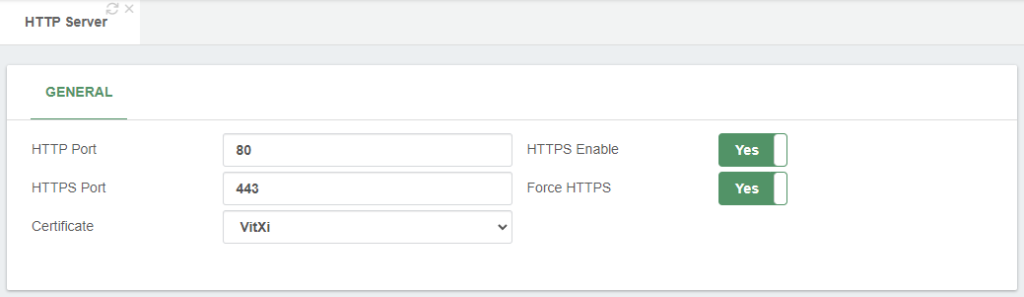
Afterwards, go to Admin > System Settings > HTTP Server, and force HTTPS connection and select the certificate created previously.
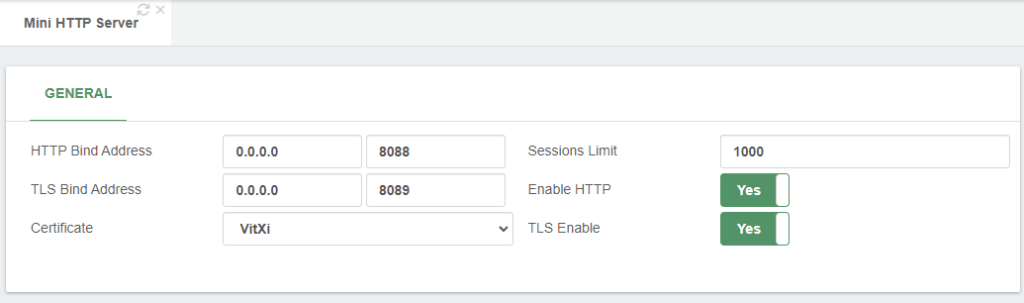
Now go to Settings > PBX Settings > Mini HTTP Server and configure it as shown below. You must select the certificate we have created. Remember to save and Apply Changes. We do this so that VitXi WebRTC PJSIP WebSocket can communicate with VitalPBX.