Sonata Dialer only works with VitalPBX 3.0 onwards. To install Sonata Dialer, it is necessary to go to Add-ons in VitalPBX, search in the list and press the Install button and wait a few minutes, once the installation is finished, we must go to the url pressing the Addon called Sonata Dialer.
Now a wizard will be displayed to guide us to finalize the configuration.
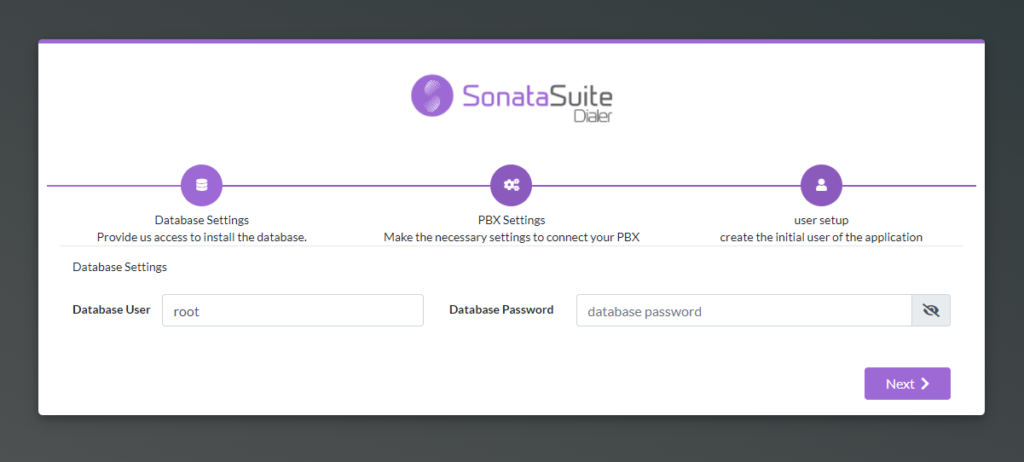
a.- Database Settings:
- Database User, MySQL user, if we are on the same server, you can leave the root user without password, otherwise you must create a user in Mariadb to access remotely.
- Database Password, if we are on the same server the root user usually does not have a password, if we are accessing remotely the user and password must be created in Mariadb.
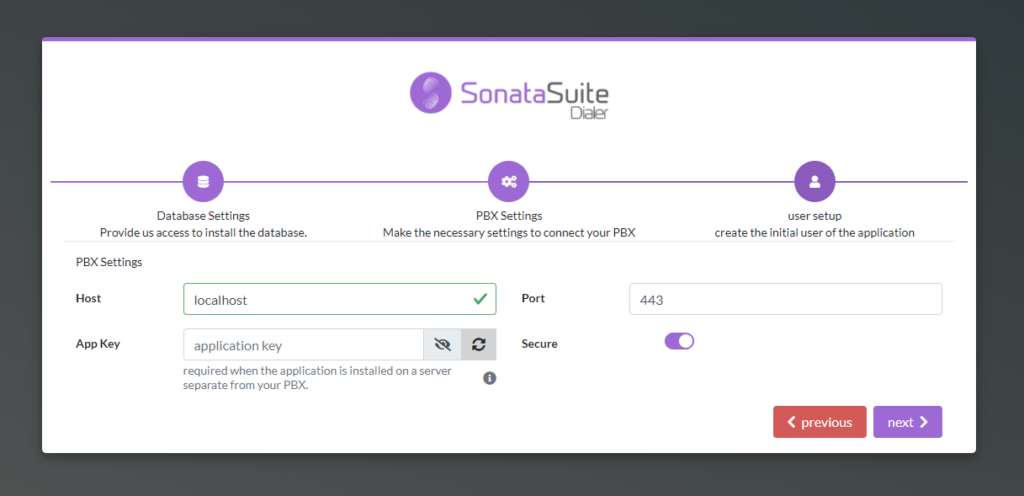
b.- PBX Settings:
- Host, if installed on the same server it is advisable to write localhost otherwise, we must write the host or remote IP.
- Port, if our server has a valid certificate and all requests are redirected to https, we should configure port 443 and we do not have https configure port 80. If we are going to access remotely remember to open these ports in the firewall.
- App key, If Sonata Dialer is in the same server as VitalPBX it is not necessary to configure the API Key since it is obtained automatically. If Sonata Dialer is installed in a different server than VitalPBX it is necessary to create an App Key in VitalPBX to be able to connect, for which we go to the menu of VitalPBX, ADMIN/Admin/Application Keys, create a new one, copy it and write it here.
- Secure, indicates a secure https connection, usually port 443 is used when this option is selected.
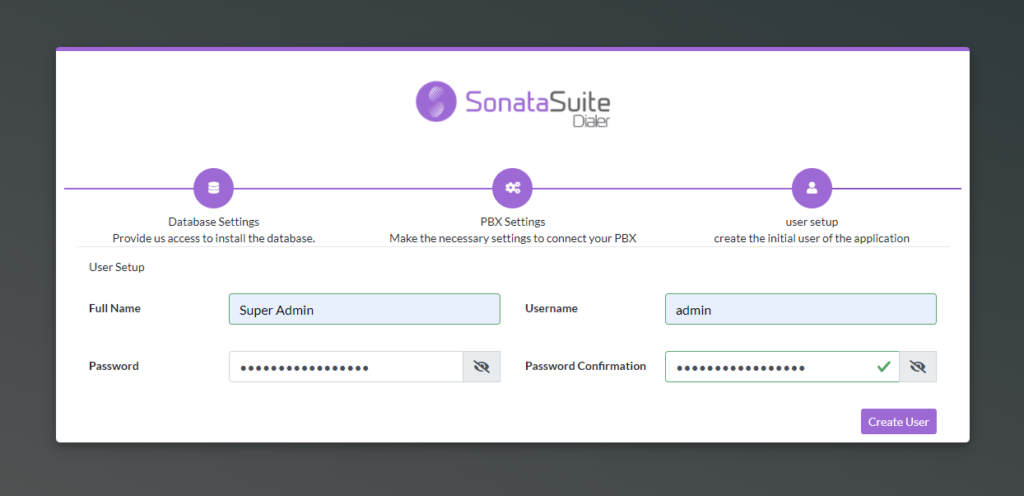
c.- User Settings
- Full Name, full name of the System Administrator.
- Username, system administrator user, usually admin.
- Password, password for administrator access.
- Password Confirmation, password confirmation administrator.
d.- Log in with the user and password previously created.