You might have noticed that various areas in VitalPBX, especially Extensions, use what is called Dial Profiles. Dial Profiles are configuration templates you can use to easily configure common settings among multiple features at once. To configure a Dial Profile, we must go to Settings > Technology Settings > Dial Profiles.
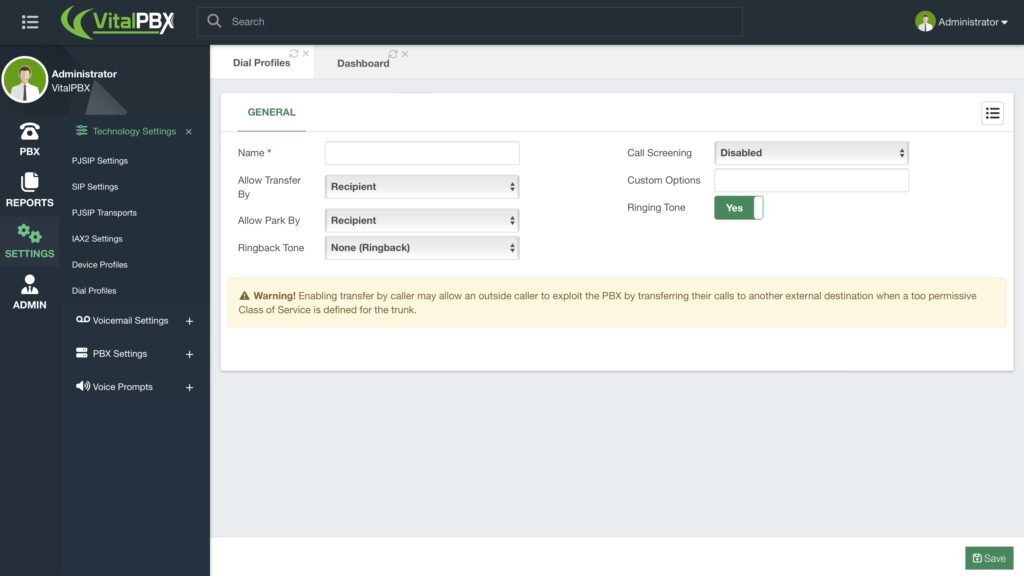
To create a Dial Profile you must enter a Name to recognize it. Then, we have various options we can modify for this Dial Profile. We can select who is allowed to Transfer or Park the calls. Either the Recipient, Caller, or Both. This will allow the selected option to use the feature code to transfer or park the call.
Note: Be sure that you know why you want to change this option, as stated by the Warning in the module, “Enabling transfer by the caller may allow an outside caller to exploit the PBX by transferring their calls to another external destination when a too permissive Class of Service is defined for the trunk.“
You can also change the Ringback Tone the extensions or features will use. This can playback the default ringing tone, or any Music on Hold class you have created. You can turn off the Ringing Tone altogether as well.
You can then turn on Call Screening and select between having it Disabled, Always Ask, or Only Once. This will prompt the incoming caller to record their name, which will be played back when the call is answered. Finally, you can enter Custom Options, which are custom dial parameters you can run that are not specified in the GUI.
For now, we will continue to use the Default Dial Profile, but if you have made a new one, make sure to click on the Save button in the lower right-hand corner, and apply changes


